Turning Chain Causing Crooked Edges? (The Vertical Fix)
Quick Recognition
You’ve been counting every stitch, and you’re sure the math is right. But when you hold up your project, one edge looks like a smooth vertical line while the other looks like a jagged staircase or a series of loops. The corners don’t feel “crisp,” and the work is leaning slightly to the left. If your stitch count is perfect but your project looks like it’s slowly drifting off-center, you likely have a crochet turning chain causing crooked edges.
Direct Answer
A crochet turning chain causing crooked edges happens when the chain height doesn’t match the stitch height, or when the “first stitch placement” is inconsistent. If your turning chain is too loose, it creates a bulging loop that pushes your edge outward. If it’s too tight, it pulls the corner inward. This structural imbalance prevents your rows from stacking perfectly on top of each other, turning your intended square into a wonky parallelogram.
Why This Happens (The Structural Pillar #03 Logic)
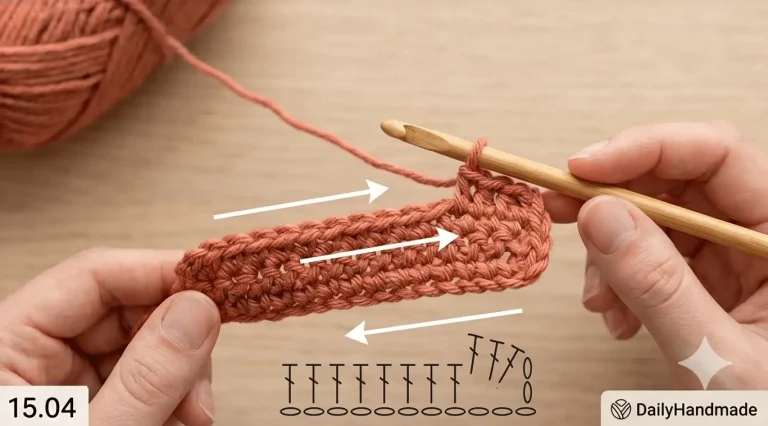
As we emphasize in Pillar #03: Crochet Stitches Explained, the turning chain is the “scaffold” for your new row. It provides the vertical lift needed for the hook to enter the next stitch comfortably.
- The “Gap” Problem: In Double Crochet, many patterns tell you to “chain 3” (which counts as a stitch). If those chains are loose, they flop over, creating a gap that looks like a mistake.
- The “Shrink” Problem: In Single Crochet, if your “chain 1” is too tight, you can’t easily get your hook into the first stitch of the next row, causing you to skip it accidentally. This inconsistency is the primary reason for a non-square silhouette.
How to Fix It (The Vertical Alignment Protocol)
To stabilize your edges and achieve a true 90-degree corner, implement these three vertical fixes:
- The “Chain-Less-One” Rule (Expert Signal): If your Double Crochet edges look loopy, try chaining only 2 instead of 3 for your turn. This creates a tighter “pillar” that mimics the density of a real stitch, preventing the edge from bowing out.
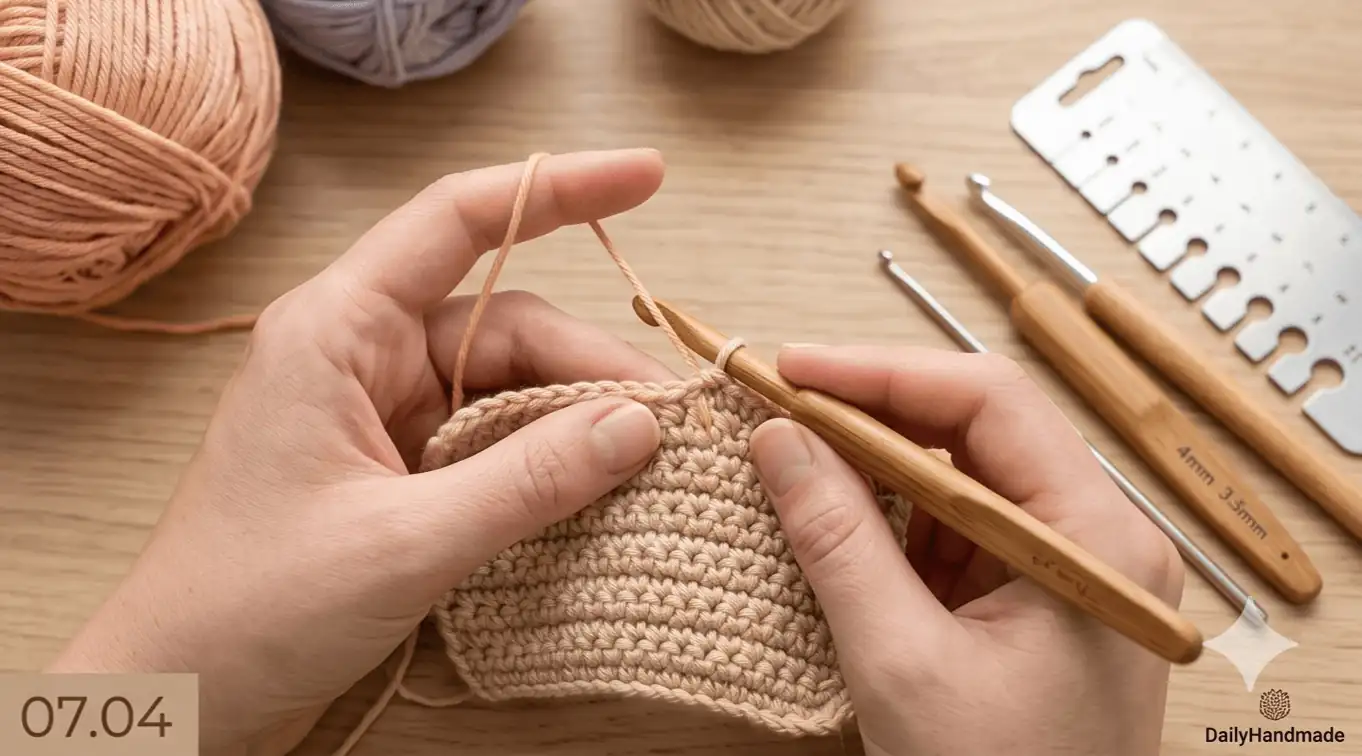
- The “First-Hole” Standard: * Single Crochet: The chain-1 never counts as a stitch. You must work into the very first hole at the base of the chain.
- Double Crochet: The chain-3 usually counts as a stitch. You must skip the first hole and work into the second.
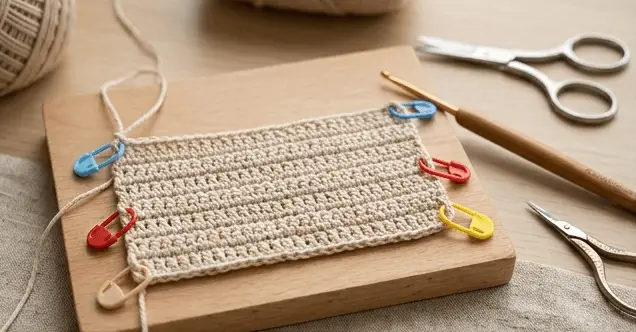
- The Top-Chain Anchor: If your turning chain counts as a stitch, place a marker into the top loop of that chain immediately after making it. When you return on the next row, that marker is your “Finish Line.” See: Using markers for straight edges
- Stacked Single Crochet (Advanced): Instead of a turning chain, try a “Stacked Single Crochet.” It creates a solid vertical post that has no gaps and no “floppy” loops, ensuring your edges are as straight as a ruler.
- Audit the “Turn” Direction: Always turn your work the same way (like a page in a book). Flipping it back and forth randomly can twist the turning chain, making one side look thicker than the other.
What To Expect Next
Once you calibrate your turning chain height, the “zigzag” on your edges will disappear. Your corners will feel firm and sharp rather than soft and rounded. You will know you’ve mastered the Vertical Fix when you can stack five squares on top of each other and all the edges align without pinning.
Return Path
Identifying a crochet turning chain causing crooked edges is the missing piece for many intermediate makers. To see if your square issues are actually caused by which type of stitch you chose, return to the master guide for this cluster: Why my crochet is not square
If your edges are now straight but your project still feels “off,” explore these related diagnostics: