Why is My Crochet Square Not Square? (The Count Audit)
Quick Recognition
You’ve been following the pattern perfectly. You’ve mastered the tension. But as you finish your final row, you realize your “square” looks like a leaning tower or a trapezoid. One side is noticeably wider than the other, or the top edge is shrinking inward. If you find yourself asking, “why is my crochet square not square?” despite your best efforts, you are likely a victim of Stitch Drift. This isn’t a failure of your hands; it’s a failure of your internal calculator.
Direct Answer
Why is my crochet square not square? The most frequent cause is an inconsistent stitch count. In crochet geometry, every row must be an identical “mathematical twin” of the foundation row. If you accidentally add one stitch at the beginning or skip one at the end, you are no longer making a square—you are making a polygon. Even a single-stitch error creates a cumulative diagonal lean that pulls your corners out of their 90-degree alignment.
Why This Happens (The “Edge Blindness” Logic)
As we explore in Pillar #03: Crochet Stitches Explained, the anatomy of a stitch changes when you turn your work.
- The “Hidden V”: The very last stitch of a row often tilts downward. If you miss it, your square shrinks.
- The “Double Dip”: If you work into the base of your turning chain and then work the first “real” stitch, you’ve just added width. Because yarn is flexible, these errors don’t look obvious until you’ve completed 5 or 10 rows—by then, your “perfect square” is already a trapezoid.
How to Fix It (The Count Audit Protocol)
To stop the “wonky” look and ensure your project stays mathematically square, implement these five diagnostic steps:
- The “Golden Number” Anchor (Expert Signal): Before you start, decide on your count (e.g., 20 stitches). This is your “Golden Number.” It is the only number allowed to exist at the end of every row.
- The Edge-Marker Cheat Code: Place a stitch marker in the first stitch of every row the moment you make it. When you return to that side, that marker is your “Finish Line.” If you stop before it or go past it, your square is ruined. See: Using markers for straight edges.
- The “5-Row Audit”: Never crochet more than 5 rows without a full count. It is much easier to “frog” (rip out) two rows of mistakes than twenty.
- The Height vs. Width Ratio: Remember that in Pillar #03, we learn that stitches are rarely perfect cubes. To make a square, you often need a different number of rows than stitches.
- Single Crochet: Usually requires more rows than stitches (approx. 1.2:1 ratio).
- Double Crochet: Usually requires fewer rows than stitches (approx. 1:2.5 ratio).
- Identify the “Ghost Stitch”: Look at the very edge of your work. If you see a “step” or a “bump,” you’ve likely added a stitch into the turning chain.(See: Turning chain causing crooked edges
What To Expect Next
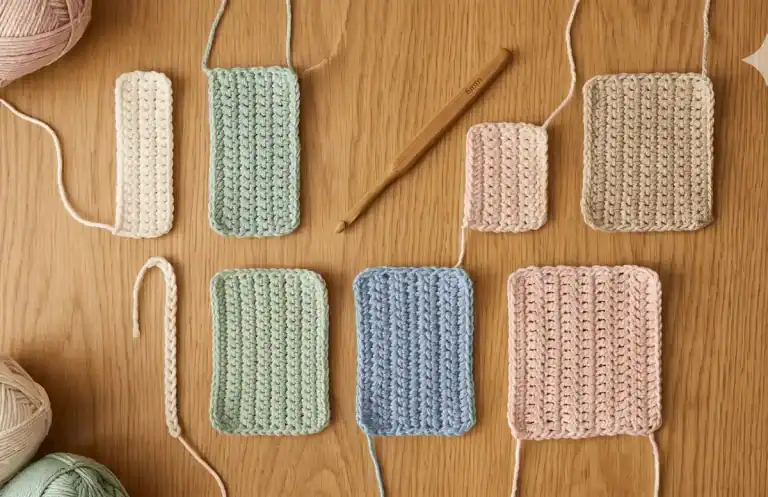
Once you implement a strict counting rule, your edges will become parallel. The “lean” will vanish. You will know you’ve mastered the Count Audit when you can lay your work on a piece of graph paper and every edge lines up perfectly with the grid.
Return Path
Understanding why is my crochet square not square is the first step toward geometric perfection. To see if your issue might actually be related to your physical grip instead of the math, return to our master diagnostic list: Why my crochet is not square
If your count is perfect but the shape is still “off,” explore these structural fixes: