Joining Crochet Pieces with Uneven Stitch Counts: The Pro Cheat
Quick Recognition
It is a breezy afternoon in April 2026. You are seaming the final side of a blanket or the underarm of a sweater. You’ve followed the best way to join crochet pieces for beginners and kept your tension steady. But as you approach the last two inches, your heart sinks. You have three stitches left on the front panel, but five on the back. You think, “I counted these pieces twice! Why is one longer, and do I have to frog the whole thing?” At Dailyhandmade, we call this the “Assembly Gap.” In CROCHET FAQ AND TROUBLESHOOTING, we teach you that while 1-to-1 matching is the goal, “Easing” is the professional reality.
Direct Answer
The “Pro Cheat” for joining crochet pieces with uneven stitch counts is a technique called Mechanical Easing. Instead of a strict 1-to-1 stitch match, you occasionally work two stitches from the longer side into a single stitch on the shorter side. By distributing these “doubled” connections across the entire length of the seam—rather than all at once at the end—the extra fabric is absorbed invisibly into the join. In the framework, this is a Corrective Assembly technique used to save time and hide minor tension variances.
The Easing Equation: Calculating the Discrepancy
In the technical world of Crochet FAQ & Troubleshooting, we calculate the Easing Ratio ($R_e$) to determine if a “cheat” is even possible without causing a pucker.
$$R_e = \frac{N_{long} – N_{short}}{N_{short}}$$
Where $N_{long}$ is the higher stitch count and $N_{short}$ is the lower.
| Easing Ratio (Re) | Severity | The Dailyhandmade Verdict |
| $< 0.05$ | Negligible | Green Light: Cheat away; it will be invisible. |
| $0.05 – 0.10$ | Moderate | Caution: Requires careful pinning and spacing. |
| $> 0.10$ | High | Red Light: Stop. It will pucker. Frog and re-count. |
3 Strategy Drills for the Mismatched Rescue
If you are joining crochet pieces with uneven stitch counts in Crochet FAQ & Troubleshooting, implement these three drills to hide the math fail:
1. The “Marker-Anchor” Map
Never try to “fix” the difference at the very end of the row.
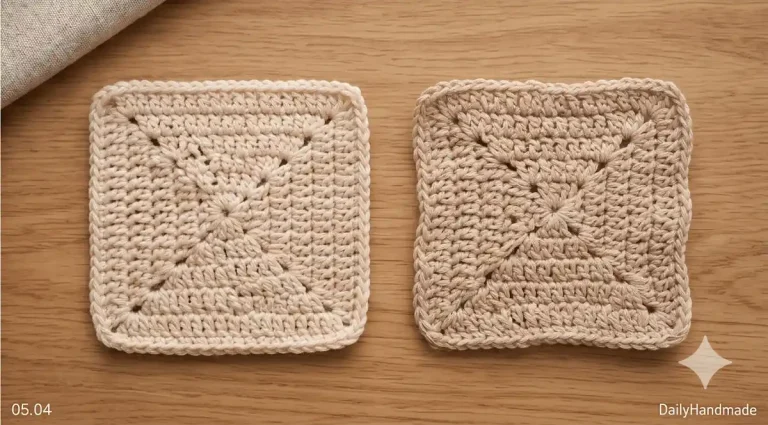
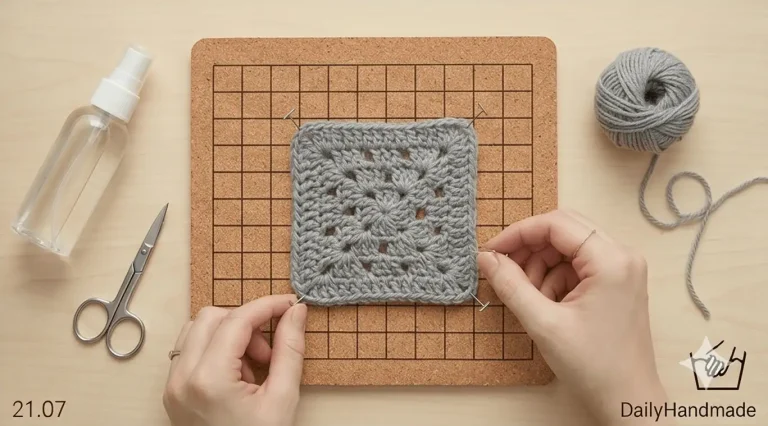
- The Drill: Lay your pieces flat. Place a stitch marker at the beginning, middle, and end. If you have a 4-stitch difference, you need to “lose” 2 stitches in the first half and 2 in the second. This prevents the uneven crochet joins look where one side has a massive fold of fabric at the corner.
2. The “Double-Dip” Invisible Pass
If you are using the invisible mattress stitch tutorial, you can hide an extra stitch easily.
- The Drill: On the longer side of the fabric, pick up two horizontal bars instead of one. On the shorter side, pick up only one bar as usual. When you zip the seam shut, the two bars on the long side will compress together, perfectly aligning with the single bar on the short side.
3. The “Skip-and-Bridge” (Hook Method)
If you are using a slip stitch join, you have to be more tactile.
- The Drill: Work 5 normal joins. On the 6th stitch, insert your hook into one stitch on the short piece, but go through two stitches on the long piece simultaneously. This “merges” the extra stitch into the seam line. This is the best way to maintain a flat seam when the math doesn’t add up.
Dailyhandmade Expert Rescue Signal
The “10% Rule”: In How to Join Crochet Pieces (Best Methods for Beginners), we have a hard limit for “cheating.” If the difference between your pieces is more than 10% (e.g., 50 stitches vs 56 stitches), no amount of easing will hide the distortion. The fabric will wave or pucker. In that case, you must check why are my crochet joins uneven and fix the root cause. But for a 1 or 2 stitch error? The Pro Cheat is your best friend.
Series Completion
You have now completed: How to Join Crochet Pieces (Best Methods for Beginners). You have progressed from choosing your logic, mastering the needle and hook, to troubleshooting corners, garments, and finally, fixing your mistakes here. You are now fully equipped for the assembly phase of Pillar: Crochet FAQ & Troubleshooting.
Return Path
Mastering how to handle joining crochet pieces with uneven stitch counts is the ultimate confidence-builder in Pillar: Crochet FAQ & Troubleshooting.
Review the Assembly Masterclass:
- Best way to join crochet pieces for beginners
- Invisible mattress stitch crochet tutorial
- How to join crochet pieces with a flat seam
- Why are my crochet joins uneven
- How to join crochet squares at corners
- Best way to join crochet garment pieces
- Master Guide: Crochet FAQ & Troubleshooting
Series Complete! Your pieces are joined, your seams are flat, and your “cheats” are invisible.
I have a final relevant follow-up question for you: Now that your assembly is finished, are you planning to add a border around the entire joined project to further hide any minor seam imperfections?