How to Stop Adding Extra Stitches in Crochet (The Habit Fix)
Quick Recognition
You understand the rules, you’ve watched the tutorials, and yet, every time you finish a row, your project is one or two stitches wider than it was before. It feels like you are fighting a losing battle against a yarn that wants to expand. If your scarf is starting to look like a slice of pizza, the problem isn’t your talent—it’s your Muscle Memory. You haven’t yet developed the “Automatic Audit” required to maintain a straight edge. Learning how to stop adding extra stitches in crochet is about moving from “guessing” to “knowing.”
Direct Answer
To stop adding extra stitches in crochet, you must implement a “First-Stitch Audit” habit. This means placing a stitch marker into the very first stitch of every row immediately after you create it, and counting your stitches before you make your turning chain for the next row. By creating these physical and mental “stop-points,” you prevent your hands from accidentally working into the turning chain or “double-dipping” into the first hole of the row.
Why This Happens (Muscle Memory Drift)
In the early stages of learning, your brain is focused on the mechanical movement of the hook (the “yarn over, pull through”). Because this takes so much concentration, your Spatial Awareness—the ability to see the row as a whole—is temporarily offline. You naturally seek out any available hole to insert your hook. If a turning chain looks like a hole, you will crochet into it. This Muscle Memory Drift is why projects widen; your hands are working faster than your eyes can verify the stitch anatomy.
How to Fix It (The Habit Protocol)
To rewire your brain and keep your edges laser-straight, adopt these three non-negotiable habits:
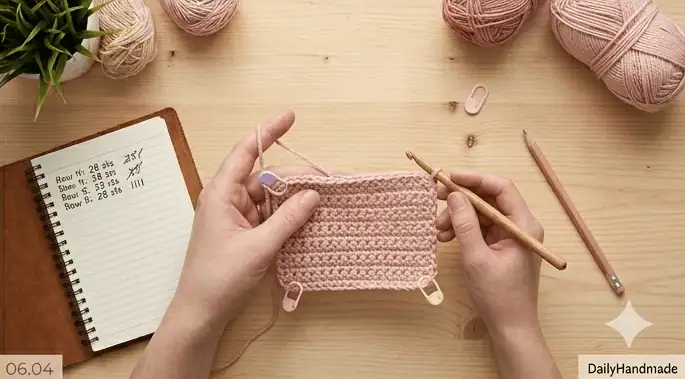
- The “Marker-First” Rule (Expert Signal): As soon as you complete the first stitch of a new row, stop. Do not make the second stitch until you have clipped a locking stitch marker into that first stitch. This defines your “Finish Line” for the next pass. See: Using markers for straight edges
- The “V” Count Rhythm: Every time you reach the end of a row, count the “Vs” on top of your work. If your project is 20 stitches wide, you must count exactly 20 “Vs.” If you count 21, you’ve added a stitch in that row—frog it immediately and find the “double-stitch.” See: Counting crochet stitches for straight edges
- Master the “Zero-Hole” Turn: In Single Crochet, remember that the turning chain is not a stitch. Train your hand to skip the “ch-1” and dive directly into the base of the chain for the first sc. Consistency in your turning logic is the only way to stabilize your width. See: Identifying first and last stitch
- The Post-Check: After every 5 rows, lay your project flat on a table. If the sides are not parallel, you are still adding stitches. Catching the error every 5 rows is much better than catching it 50 rows later.
What To Expect Next
When you first start implementing these habits, you will feel significantly slower. You might even find the constant counting annoying. This is the Calibration Phase. Within two weeks of consistent practice, your eyes will begin to “see” the edges without the markers, and your hands will automatically stop at the correct point. You will know you’ve mastered how to stop adding extra stitches in crochet when your stitch count is perfect without you even trying.
Return Path
Building these habits is the final step in moving from a Beginner (Stage 1) to a confident Maker (Stage 2). To see how these habits fit into your overall development, return to the master roadmap: Crochet learning stages explained
If your project is still widening despite these habits, troubleshoot these specific technical errors: