How to Convert Crochet Charts to Written Instructions: Step-by-Step
Quick Recognition
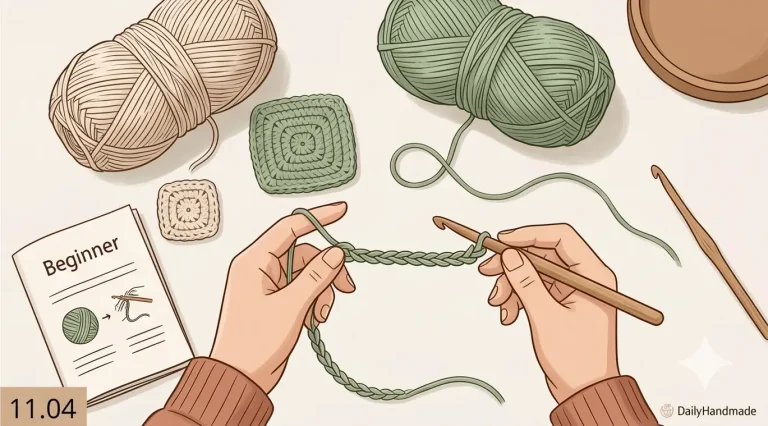
It is a bright morning in April 2026, and you’ve found a stunning stitch pattern in a vintage Japanese magazine. You’ve mastered basic crochet diagram symbols explained, but your brain still craves a checklist of words to tick off as you go. You think, “I can see what’s happening, but I wish I had a written version to follow on my phone. How can I turn these icons into a real pattern?” At Dailyhandmade, we call this “Pattern Decoding.” In How to Read Crochet Patterns, we treat transcription as a literal translation—turning a spatial image into a linear timeline.
Direct Answer
To how to convert crochet charts to written instructions, you must follow a three-step protocol: Symbol Identification, Directional Analysis, and Sequence Drafting. You identify the foundation chain, determine if you are working in rows or rounds, and then write down each symbol as its corresponding abbreviation (sc, dc, ch) in the order of the hook’s path. In the framework, this ensures Transcription Fidelity ($T_f$), reducing the risk of skipping stitches during the mental jump from eye to hand.
The Science of Transcription: Semantic Mapping
In the technical world of How to Read Crochet Patterns, we analyze the Transcription Accuracy ($T_a$). This measures the 1:1 relationship between the visual symbol ($S_v$) and the written abbreviation ($A_w$).
$$T_a = \frac{\sum (S_v \equiv A_w)}{\text{Total Stitch Count}}$$
| Step | Action | Focus |
| Phase 1 | The Legend Lock | Match symbols to your regional terms (US vs UK). |
| Phase 2 | The Path Mapping | Mark row numbers and directional arrows. |
| Phase 3 | The Repeat Logic | Identify recurring motifs and use brackets [ ] or * *. |
| Phase 4 | The Final Audit | Compare your written counts to the chart symbols. |
3 Strategy Drills to Convert Charts Like a Pro
If you are learning how to convert crochet charts to written instructions in How to Read Crochet Patterns, implement these three “Transcription Drills”:
1. The “Anchor & Count” Audit
Before writing the whole row, find the pattern repeats.
- The Drill: Look at the chart and find a sequence that repeats (e.g., 3 dc, ch 1, 3 dc). Instead of writing “dc, dc, dc, ch 1…” for the whole row, find the mathematical “unit.” Write it as
*3 dc, ch 1; repeat from * across. This prevents your written instructions from becoming a “wall of text” and helps avoid common crochet chart reading mistakes.
2. The “Voice Memo” Transcription
Your ears often catch what your eyes miss.
- The Drill: Look at the chart and “read” it out loud while recording yourself. Say, “Row one: Chain ten, double crochet in third chain…” then play it back while looking at the chart. If what you hear matches what you see, you have a perfect draft for your written pattern.
3. The “Color-Coded” Pathing
Charts can be visually overwhelming when converting to text.
- The Drill: Use a different colored highlighter for each row on the chart. As you write the text for “Row 1,” highlight it in yellow. “Row 2” in pink. This physical separation ensures you don’t accidentally merge two rows, which is a common cause of crochet chart vs written pattern differences.
Dailyhandmade Expert Rescue Signal
The “Parentheses” Rule: In How to Read Crochet Charts (Diagram Symbols for Beginners), we always remind transcribers: If a group of symbols all stem from the same point on a chart, they belong in parentheses in your written pattern. For example, a 3-dc cluster should be written as
(3 dc) in next st. Without those parentheses, your written version will look like three separate stitches, ruining the geometry you worked so hard to understand in the diagram.
Return Path
Mastering how to convert crochet charts to written instructions is a high-level “Skill Building” achievement in How to Read Crochet Patterns. To ensure your technical knowledge is complete, explore these related guides:
- Understanding crochet chart diagrams for beginners
- Basic crochet diagram symbols explained
- How to read crochet diagrams in rows
- Crochet chart symbols arrows meaning
- Master Guide: How to Read Crochet Patterns