How to Fix Wide Crochet Without Frogging (The Emergency Border)
Quick Recognition
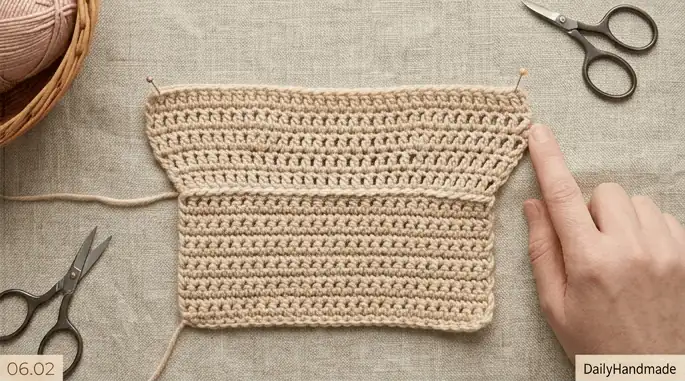
You’ve spent eight hours on a beautiful blanket, only to realize the last twenty rows are significantly wider than the first twenty. You’ve created the dreaded “Trapezoid Effect.” Every fiber of your being screams at the thought of “frogging”—ripping out hours of progress just to start over. If you are looking for a way to save the project and hide the flare without hitting the reset button, you are looking for a Structural Rescue. Learning how to fix wide crochet without frogging is the ultimate secret of the “lazy expert.”
Direct Answer
While you cannot mathematically remove extra stitches from a finished row, you can fix wide crochet without frogging by using an Emergency Decrease Border. By working a row of single crochet around the entire perimeter and placing strategic “2-together” (sc2tog) decreases along the flared sections, you can pull the wider edges inward. This creates a visual “frame” that masks the expansion and restores a rectangular silhouette to your work.
Why This Happens (The Structural Reality)
Mechanically, once a stitch is made, its width is fixed. If you added five extra stitches, those five stitches occupy physical space. When you don’t want to frog, you are essentially performing Optical Correction. You are using the border to create a “drawstring effect,” cinching the wider top section to match the narrower bottom. It won’t make the stitch count correct, but it will make the project look straight to the naked eye.
How to Fix It (The Emergency Protocols)
If you are committed to saving your flared project, implement these “damage control” techniques:
- The “Cinch” Border (Expert Signal): Start a border row in a matching color. When you reach the side that is too wide, work a Single Crochet 2-Together (sc2tog) every 5 or 10 stitches. This physically pulls the edge inward, narrowing the flare without changing the main body of the work.
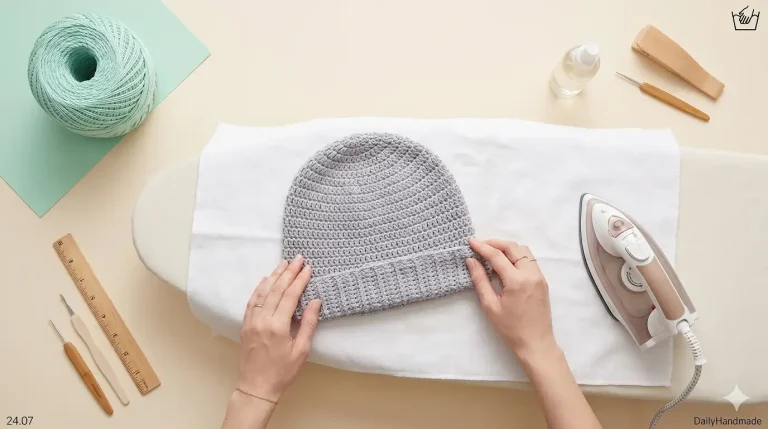
- Strategic Steam Blocking: If your project is made of acrylic or wool, you can use heat to “set” the shape. Pin the project into a perfect rectangle (even if the flared side feels bunched up) and apply heavy steam. For acrylic, this “kills” the fiber slightly, making the adjustment permanent. See: Acrylic yarn curling in crochet
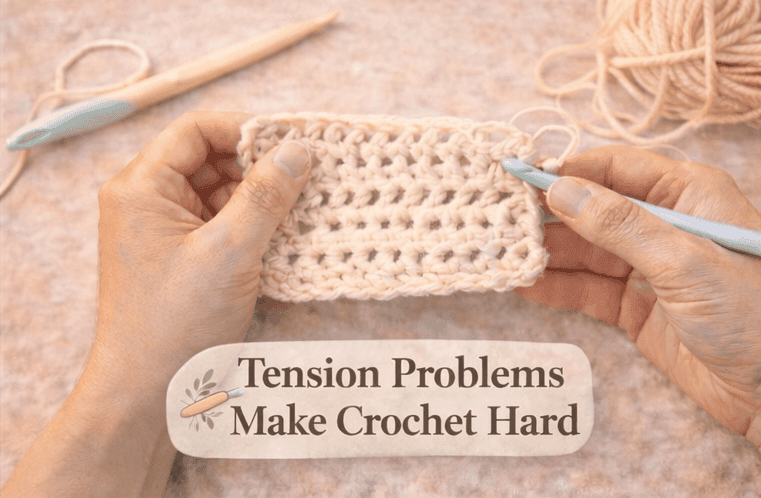
- The “Tension Gradient” Rescue: If you catch the widening early but don’t want to frog, finish the project by consciously tightening your tension and using a hook 0.5mm smaller for the remaining rows. This will taper the work back down to its original width. See: Hook size for beginners
- Decorative Masking: If the widening is only on one side, add a thick fringe or a ruffled border to that edge. The movement of the fringe hides the “staircase” effect of the accidental increases.
- Transform the Shape: If a scarf is far too wide at the end, don’t finish it as a scarf. Fold it and seam the edges to turn it into a Boho Clutch or a Cowl. In crochet, a “mistake” is often just a “design feature” waiting for a new name.
What To Expect Next
After applying an emergency border or steam blocking, the flare will be significantly less noticeable. However, keep in mind that these are Visual Fixes, not mathematical ones. The fabric might feel slightly denser in the areas where you cinched it. You will know you’ve successfully saved the project when it can lay flat on a bed without looking lopsided. For your next project, remember that an ounce of counting is worth a pound of bordering!
Return Path
Saving a project is a great skill, but preventing the “flare” is the mark of a Master. To ensure your next project stays perfectly straight from Row 1, return to our diagnostic guide: Why my crochet keeps getting wide
To build the habits that make “rescue borders” unnecessary, explore these prevention guides: