DIY Blocking Mats for Crochet: What Actually Works?
Quick Recognition
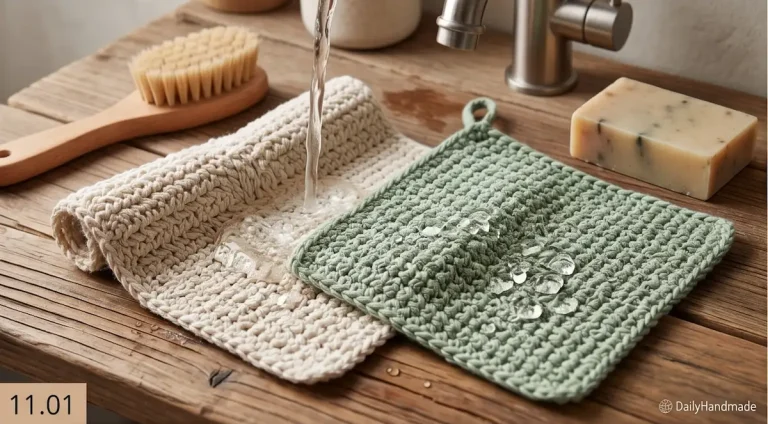
It is a breezy afternoon in April 2026, and you’ve just finished a project that needs a precision “set.” You’ve already mastered blocking granny squares without a blocking board, but now you’re moving on to a larger lace shawl or a garment. You look at the “specialized” crochet blocking mats online—which are often just rebranded foam—and notice the premium price tag. You think, “Is there a difference between these and the foam tiles in my basement? What are the best diy blocking mats for crochet that won’t fall apart?” At Dailyhandmade, we believe your budget should go into your fiber, not your furniture. In Pillar: Crochet Care & Maintenance Guide, we evaluate the Surface Density and Moisture Resistance of everyday items to see which can survive the “pin-and-pull” process.
Direct Answer
The most effective diy blocking mats for crochet are EVA Foam Floor Tiles (the kind used for gym floors or playrooms). They provide the perfect “grip” for pins, are inherently waterproof, and can be puzzled together to fit any size project. Other successful alternatives include High-Density Yoga Mats and Corrugated Cardboard (if wrapped in plastic). In the framework, we rank these based on their Pin Retention Force, ensuring your project doesn’t “snap back” and lose its shape mid-dry.
The Materials Audit: Density vs. Durability
In the technical world of Pillar: Crochet Care & Maintenance Guide, a DIY mat’s success is measured by its Blocking Efficiency Index ($E_b$).
$$E_b = \frac{D \cdot \mu}{C}$$
Where $D$ is material density, $\mu$ is the coefficient of friction (pin grip), and $C$ is the cost.
| DIY Material | Pin Grip (1−10) | Waterproof? | Best Use Case |
| EVA Foam Tiles | 10 | Yes | Large blankets & Heavy sweaters. |
| Yoga Mat | 7 | Yes | Long, narrow scarves/shawls. |
| Cardboard | 5 | No* | One-time use / Granny squares. |
| Styrofoam | 8 | Yes | Small, delicate motifs. |
*Requires a plastic wrap layer to prevent moisture damage.
3 Strategy Drills for the DIY Setup
If you are building your own diy blocking mats for crochet in Pillar: Crochet Care & Maintenance Guide, follow these three professional drills:
1. The “Waterproof Shield” Protocol
If you are using a porous material like cardboard or a soft towel, moisture is your enemy.
- The Drill: Before pinning, wrap your DIY surface in clear packing tape or a layer of plastic wrap. This prevents the mat from absorbing the water during wet blocking, which can lead to mold or “soggy” edges that never dry properly.
2. The “Grid-Line” Calibration
The biggest disadvantage of DIY mats is the lack of a printed grid.
- The Drill: Use a permanent marker and a yardstick to draw a 1-inch (2.5cm) grid directly onto your foam tiles or yoga mat. This allows you to visually track crochet still curling after blocking and ensures your edges stay perfectly parallel without constant measuring.
3. The “Puzzle-Lock” Expansion
One tile is never enough for a garment.
- The Drill: When using foam tiles, always “interlock” them on a hard floor (not carpet). This provides a solid base that won’t “bow” or bend upward when you apply high tension to your project. This is crucial for maintaining the permanent stretch required for professional garment finishing.
Dailyhandmade Expert Rescue Signal
The “Pin-Depth” Warning: In How to Block Crochet Projects (Wet vs. Steam vs. Spray), we always remind makers: Check what’s under your DIY mat! If you use a thin yoga mat on a dining table, your T-pins will scratch the wood. Always ensure your diy blocking mats for crochet have a minimum thickness of $10mm$, or place a thick towel underneath to act as a “safety buffer” for your furniture.
What To Expect Next
You’ve got your mat and your pins are set. Now comes the longest part of the process: the wait. Is there a way to move things along? In our next chapter of How to Block Crochet Projects (Wet vs. Steam vs. Spray), we tackle the clock: How to Dry Blocked Crochet Faster: Safe Speed-Drying Tips.
Return Path
Mastering diy blocking mats for crochet is a smart “Maintenance” move in Pillar: Crochet Care & Maintenance Guide. To refine your finishing toolkit, explore these related guides:
- Best blocking method for crochet beginners
- How to steam block acrylic crochet safely
- Blocking granny squares without a blocking board
- Why is my crochet still curling after blocking
- Master Guide: Crochet Care & Maintenance
I have a relevant follow-up question for you: Are you looking to build a permanent blocking station in your craft room, or do you need a portable DIY setup that you can tuck away when the project is dry?