The Ultimate Crochet Tension Test for Beginners (Check Your Gauge)
Quick Recognition
You’ve been crocheting for a few weeks, and your projects look “okay,” but you have a nagging feeling that something is missing. Your scarf is a bit stiff, or your dishcloth seems unusually loose. You see words like “Gauge” in patterns and skip over them because they look intimidating. If you aren’t sure if you are a “Strangler” (too tight) or a “Looper” (too loose), you are working in the dark. To achieve the professional results we aim for in Crochet Learning Stages Explained, you need to stop guessing. A crochet tension test for beginners is the only way to establish your personal baseline.
Direct Answer
A crochet tension test for beginners is a 10-minute exercise where you crochet a 4″ x 4″ (10cm) square using a standard medium weight (#4) yarn and a 5mm hook. By measuring how many stitches and rows fit into that square and comparing them to the “Industry Standard” (usually 13-14 sc per 4 inches), you can definitively identify if your natural grip is too tight, too loose, or perfectly balanced. This “Audit” ensures that the stitch structures you build in Crochet Learning Stages Explained will actually fit the size they are supposed to be.
Why This Matters (The Structural Logic)
In Crochet Stitches Explained, we learn that every stitch has a specific height and width. However, these dimensions are just suggestions. Your hands are the final decision-makers.
- If you fail “Tight”: Your project will be small, stiff, and use more yarn than expected.
- If you fail “Loose”: Your project will be oversized, floppy, and you might run out of yarn before the end. By taking this test, you are “Calibrating” your internal machine before you start a high-stakes project.
How to Do It (The 10-Minute Audit Protocol)
Grab a scrap of worsted weight (#4) yarn and a 5mm hook. Follow this Longtail #08 sequence:
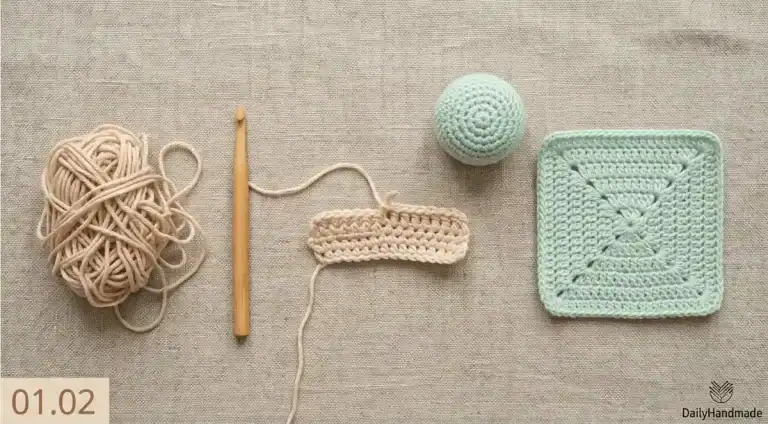
- The Swatch Phase: Chain 16. Single crochet (sc) in the 2nd chain from the hook and in each chain across (15 stitches). Crochet for 15 rows.
- The “Relax” Test: Lay the swatch flat on a table. Do not pull or stretch it.
- The Ruler Audit (The Math): Place a ruler across the center of the swatch.
- Count Stitches: How many “Vs” are in 4 inches? (Standard is ~13-14).
- Count Rows: How many horizontal rows are in 4 inches? (Standard is ~15-16).
- The “Hand” Test (Expert Signal): Pick up the swatch and scrunch it in your palm.
- If it feels like a soft cloth that bounces back, your tension is Balanced.
- If it feels like a stiff cracker that resists folding, your tension is Too Tight.
- If it feels like a loose net with no structure, your tension is Too Loose.
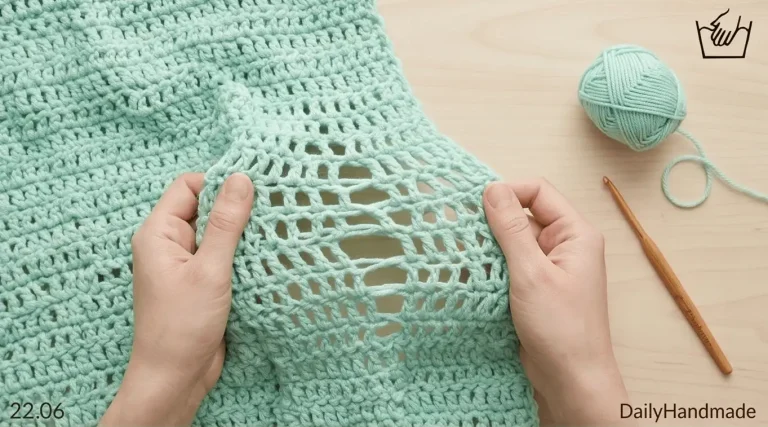
- The “Golden Loop” Check: Look at your stitches under a bright light. Can you see the “V” clearly? If the “V” is distorted or squashed, you are likely pulling too hard on your working yarn.
What To Expect Next
If your test results show you are inconsistent, don’t be discouraged. Most beginners “fail” their first tension test. This is simply a diagnostic tool to tell you which direction to adjust. You will know you’ve mastered your tension when you can produce three swatches on three different days and they all measure exactly the same.
Return Path
The crochet tension test for beginners is the bridge between “learning to move the hook” (Stage 1) and “making things that fit” (Stage 2). To adjust your results based on this test, return to our corrective guides in How to control crochet tension.
Depending on your test results, explore these specific fixes: