Why is My Crochet Getting Wider or Narrower? (Stage 2 Fix)
Quick Recognition
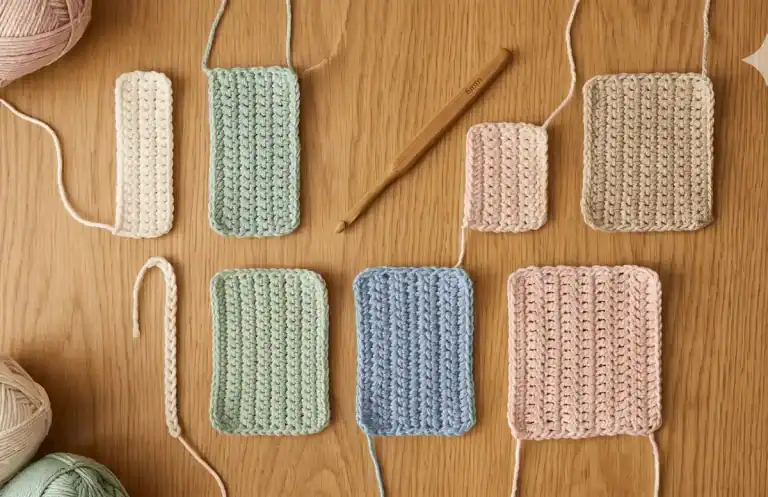
Once you move past the initial struggle of holding the hook (Stage 1), you enter the “Geometric Phase.” You can successfully make stitches, but your rectangular project suddenly starts looking like a triangle or a trapezoid. You might notice your crochet getting wider or narrowing down at the edges, even though you feel like you are doing the same thing in every row. This is not a failure of your hands; it is a breakdown in stitch placement logic. You have graduated from learning how to stitch to the much harder task of learning where to stitch.
Direct Answer
Your crochet is getting wider or narrower because of inconsistent edge placement, specifically misidentifying the first and last stitches of a row. Widening occurs when you accidentally work into the turning chain or add an extra stitch at the start. Narrowing occurs when you skip the final “V” at the end of the row. Until you master “Edge Recognition,” your stitch count will fluctuate, causing the fabric to expand or shrink regardless of your tension quality.
Why This Happens (Operational Logic)
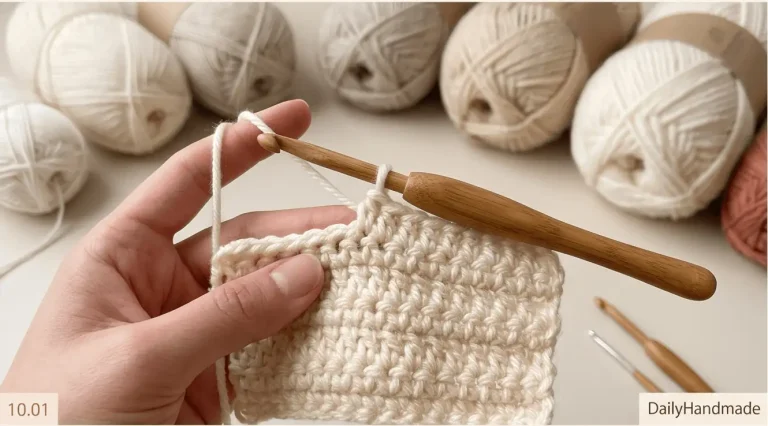
In Stage 2, the primary challenge is Stitch Anatomy Recognition. Beginners often struggle to distinguish between the actual first stitch and the “turning chain.” Because the last stitch of a row often leans slightly or looks smaller, it is frequently missed. This creates a cumulative error: missing just one stitch per row in a 20-row project results in a 20-stitch deficit, causing a dramatic diagonal lean. Your brain is essentially “guessing” where the row ends instead of “verifying” it.
How to Fix It (The Straight Row System)
To stabilize your edges and ensure your project stays perfectly rectangular, implement these professional Stage 2 protocols:
- The “Stitch Marker Safety” Rule: Before you crochet the rest of the row, place a plastic stitch marker into the very first stitch you just made. Do the same for the last stitch of the row. This removes all guesswork for the return pass. See: Is it normal to frog a lot when learning crochet for tool setup.
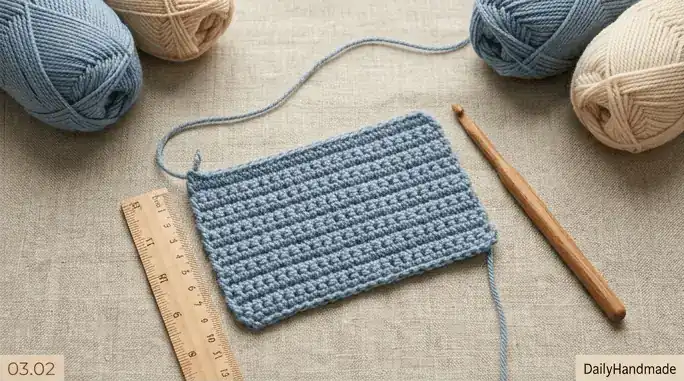
- The Count-and-Verify Audit: You must count your stitches at the end of every row. If your foundation was 20 stitches, every single row must be exactly 20. If you have 19 or 21, frog (undo) that row immediately. See: Counting Stitches in Crochet: The Secret to Straight Edges.
- Identify the “Edge V”: The last stitch often hides on the side of the work. Turn your work sideways to see the final “V” shape clearly before making your turning chain.
- Pair with High-Definition Yarn: If you can’t see the stitches, use a smooth, light-colored #4 acrylic yarn. Fuzzy or dark yarns make edge recognition nearly impossible for Stage 2 learners. See: What yarn should beginners use to learn crochet.
- 0.5mm Hook Adjustment: If your edges are loose and “loopy,” try decreasing your hook size by 0.5mm to firm up the stitch structure at the turns. See: What hook size should beginners start with.
What To Expect Next
At this stage, your edges may still look slightly “bumpy” or less than factory-perfect. This is a normal part of developing rhythmic consistency. You will know you have mastered Stage 2 when your stitch count remains identical for ten consecutive rows without you having to recount more than once. At that point, you are ready to move from simple rectangles to projects with intentional shaping (Stage 3).
Return Path
Fixing the width of your work is the core objective of Stage 2. To see how this fits into the full 3-stage learning journey, return to the roadmap here: Crochet learning stages explained
If your edges are straight but your fabric still feels “off,” explore these related diagnostics:
How to count stitches in crochet