Counting Crochet Stitches for Straight Edges: The Secret to Consistency
Quick Recognition
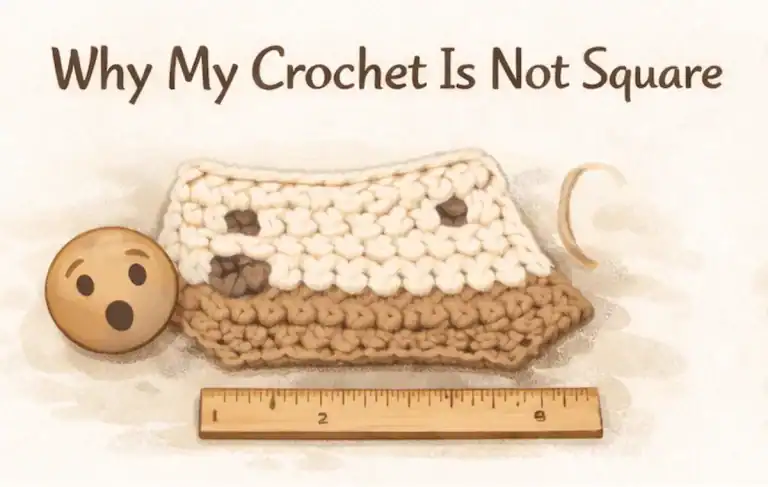
You’ve been crocheting for an hour, your rhythm is perfect, and you feel like a pro. But then you lay your project flat and realize the top is nearly two inches wider than the bottom. You don’t recall adding any stitches, and you didn’t follow any “increase” instructions. If you find yourself constantly “frogging” (ripping out) work because your rectangle is turning into a trapezoid, you are likely suffering from Stitch Amnesia. This happens when you trust your eyes more than your math. Counting crochet stitches for straight edges is the only way to catch a mistake before it becomes a permanent flare.
Direct Answer
Counting crochet stitches for straight edges is the most effective mechanical audit a beginner can perform to prevent widening. By manually verifying your stitch count at the end of every row before making your turning chain, you ensure that your “Golden Number” (the number of stitches in your foundation row) remains constant. In crochet, width is determined by math; if the count goes up, the work goes wide. There is no middle ground.
Why This Happens (The Cumulative Expansion Logic)
Crochet is a game of repetition. If you accidentally add just one extra stitch every other row in a simple scarf, by the time you reach row 50, your project is 25 stitches wider than it should be. This Cumulative Expansion happens because beginners often mistake the turning chain or the space between stitches as a “V” that needs a hook. Without counting, your brain seeks a rhythmic flow and ignores the structural fact that you are “double-dipping” into the ends of your rows.
How to Fix It (The Audit Protocol)
To transform your flared edges into laser-straight vertical lines, implement this professional counting sequence:
- Define Your Golden Number: Write down the number of stitches in your first successful row. This is your “Golden Number.” It is the only number allowed to exist at the end of every row.
- The “Turn-and-Count” Audit (Expert Signal): Before you make your turning chain for a new row, stop. Count the “Vs” on the top of the row you just finished. If you are one stitch over your Golden Number, find the double-stitch and fix it now. Never turn your work with an incorrect count.
- Count in Decimals (The 10-Stitch Marker): If you are working on a wide project like a blanket, place a stitch marker every 10 or 20 stitches. This allows you to count in small, manageable “buckets” rather than losing track at stitch 87. See: Using markers for straight edges
- Count the “Posts,” Not Just the “Vs”: If the top loops are confusing you, count the vertical “legs” (posts) of the stitches. For beginners, the posts are often easier to see and harder to miscount than the “Vs” on top. See: Identifying first and last stitch
- The Mid-Row Check: If you tend to add stitches in the middle of a row, do a quick count every 5 minutes. Catching an extra stitch 2 inches back is much easier than 2 days later.
What To Expect Next
When you first commit to counting crochet stitches for straight edges, you will feel like you are moving at a snail’s pace. The constant stopping to count can be frustrating. However, this is the Cognitive Calibration phase. Within a few weeks, your eyes will learn to “see” the count without you having to point at every stitch. You will know you’ve mastered it when you can finish a 100-row project and the edges are perfectly parallel.
Return Path
Counting is the mathematical guardrail of your project. To see how this interacts with the physical “Turning Chain” to prevent your work from widening, return to the master guide: Why my crochet keeps getting wide
If your count is correct but one side is still looking strange, explore these secondary diagnostics: