Best Way to Join Crochet Garment Pieces: Flexible & Strong
Quick Recognition
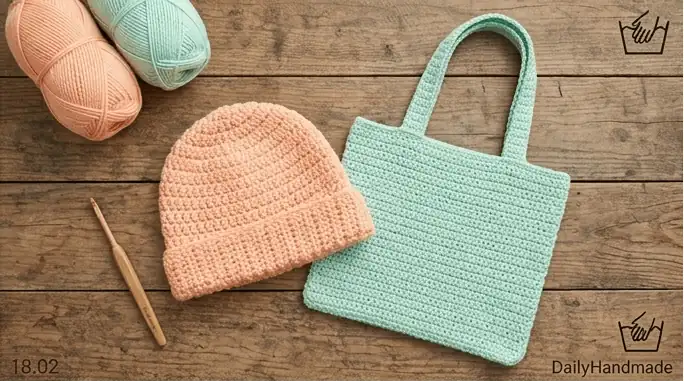
It is a breezy afternoon in April 2026. You have finished the front, back, and two sleeves of your dream cardigan. You’ve consulted the best way to join crochet pieces for beginners, but you’ve realized that a garment is a different beast than a blanket. A blanket stays flat; a sweater has to stretch over shoulders, bend at elbows, and withstand the constant friction of movement. You think, “If I make this too tight, the seam will snap. If I make it too loose, it will sag. What is the best way to join crochet garment pieces for a professional fit?” At Dailyhandmade, we prioritize the “Elasticity Equilibrium.” In Pillar: Crochet FAQ & Troubleshooting, we teach you that a wearable seam must be as dynamic as the yarn itself.
Direct Answer
The best way to join crochet garment pieces is usually the Invisible Mattress Stitch for side seams and a Slip Stitch Join for structural areas like shoulders. Garments require Differential Seaming: side seams need maximum flexibility to move with the body, while shoulder seams need high “tensile memory” to prevent the weight of the sleeves from stretching the garment out of shape. In the framework, we focus on Load-Bearing Geometry to ensure your wearables maintain their silhouette over years of use.
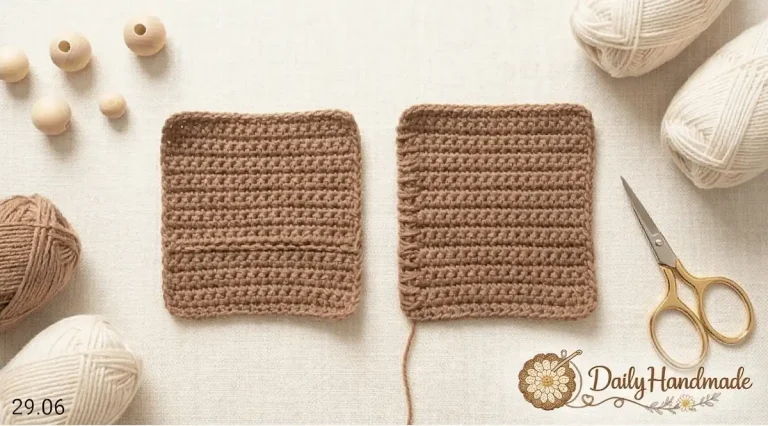
The Wearable Audit: Strain and Extension
In the technical world of Pillar: Crochet FAQ & Troubleshooting, we calculate the Seam Extension Ratio ($S_{ext}$). A garment seam must handle the change in length ($\Delta L$) relative to its original length ($L_0$) without the yarn snapping.
$$S_{ext} = \frac{\Delta L}{L_0}$$
| Seam Location | Best Method | Stress Level | Why it works |
| Shoulders | Slip Stitch (Hook) | High (Vertical) | Prevents “shoulder sag” from gravity. |
| Side Seams | Mattress Stitch | Moderate | Completely flat and ultra-flexible. |
| Sleeves | Whip Stitch | Low | Fast assembly and easy to “ease” in. |
| Necklines | Invisible Join | Moderate | Soft against the skin; no bulky ridges. |
3 Strategy Drills for Professional Garment Seams
If you are determining the best way to join crochet garment pieces in Pillar: Crochet FAQ & Troubleshooting , implement these three professional drills:
1. The “Vertical Weight” Shoulder Lock
The shoulders carry the entire weight of the garment.
- The Drill: Turn your garment inside out. Use a Slip Stitch Join through both loops of both pieces. This creates a firm, non-stretchy “beam.” It might feel stiff at first, but it is the only way to stop your sweater from growing 4 inches longer after the first wash. This avoids the common uneven crochet joins caused by gravity.
2. The “Side-Body” Elasticity Check
Side seams must expand when you breathe or sit.
- The Drill: Use the invisible mattress stitch but do not pull the “zipper” all the way tight. Leave about 2% of “slack” in your seaming yarn. This allows the seam to act like a spring. If you pull it too tight, the side of your sweater will “ripple” or pucker.
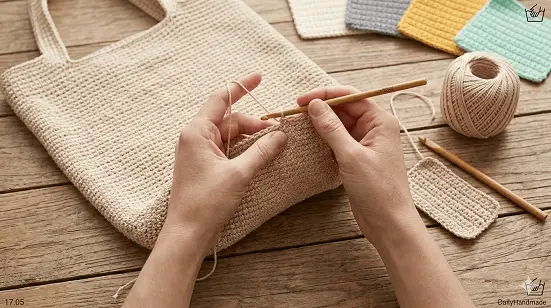
3. The Sleeve “Easing” Protocol
Sleeves often have a different stitch count than the armhole.
- The Drill: Never start seaming a sleeve without pinning it first! Use stitch markers to find the “Top,” “Bottom,” and “Midpoints.” If you have extra fabric on the sleeve side, use the “cheat” method from joining crochet pieces with uneven stitch counts to distribute the bulk evenly around the armhole.
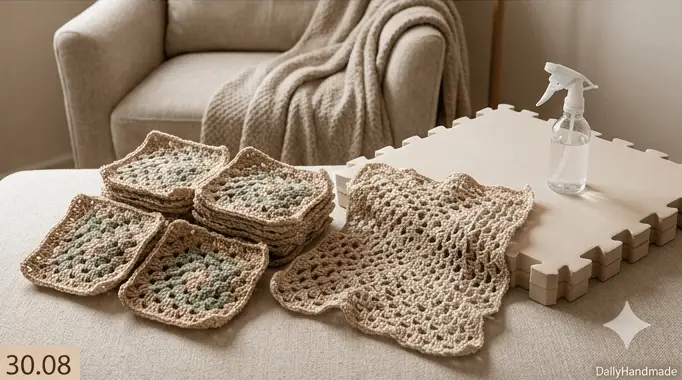
Dailyhandmade Expert Rescue Signal
The “Blocking” Requirement: In Longtail: How to Join Crochet Pieces (Best Methods for Beginners), we have a golden rule for garments: Block your panels before you join them. If your edges are curling or uneven, your seams will be under constant stress. Blocking relaxes the fibers so that when you perform your invisible mattress stitch tutorial, the needle glides through perfectly aligned bars. It’s the difference between a “home-made” sweater and a “boutique” wearable.
What To Expect Next
You’ve mastered the shoulder lock and the side-seam zip. But what happens when you reach the end of a seam and realize one panel has 5 more stitches than the other? Do you have to rip it all out? In our final chapter of How to Join Crochet Pieces (Best Methods for Beginners), we learn the ultimate assembly “cheat code”: Joining Crochet Pieces with Uneven Stitch Counts: The Pro Save.
Return Path
Mastering the best way to join crochet garment pieces is the “Structural Peak” of the Pillar: Crochet FAQ & Troubleshooting system. To finalize your assembly skills, explore these related guides:
- Best way to join crochet pieces for beginners
- Invisible mattress stitch crochet tutorial
- How to join crochet pieces with a flat seam
- Joining crochet pieces with uneven stitch counts
- Master Guide: Crochet FAQ & Troubleshooting
I have a relevant follow-up question for you: Are you currently working with a heavy yarn (like wool/acrylic) that needs a very strong shoulder, or a lightweight cotton that needs a seam so thin it’s completely unfelt?