Why My Crochet Stitches Look Uneven as a Beginner (And How to Fix It)
Quick Recognition
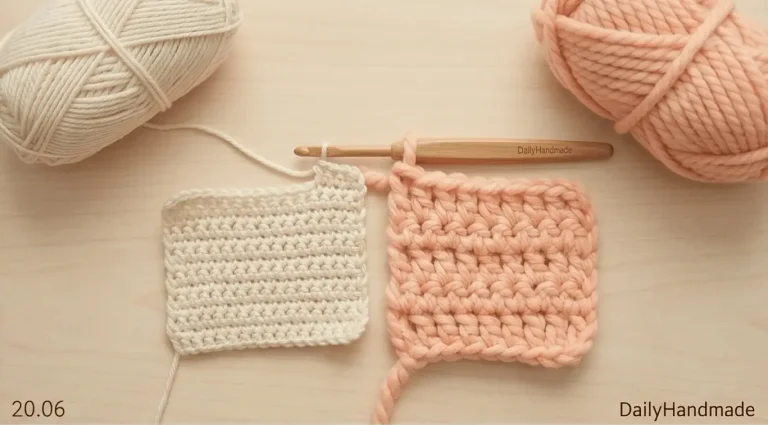
When you first start practicing, it is common to notice that your fabric looks irregular. Some stitches appear large and gaping, while other rows feel tight and difficult to work back into. Your project might look “bumpy,” wavy, or simply inconsistent. This often leads beginners to believe they are using the wrong technique or that they lack “natural talent,” but in reality, your hands are simply in the middle of a complex learning process.
Direct Answer
Crochet stitches look uneven for beginners primarily due to inconsistent tension and variable hook placement. Because your hand coordination is not yet automatic, the amount of force you apply to the yarn changes from stitch to stitch. Furthermore, if the yarn is not consistently worked on the “shaft” (the widest part) of the hook, the loops will naturally vary in size. As your muscle memory develops, your stitches will automatically become more uniform.
Why This Happens
Every crochet stitch is a “measured loop.” For stitches to look identical, the measurement must be identical every time. As a beginner, two factors are working against you:
- Fluctuating Tension: When you concentrate hard, you tend to tighten your grip, making stitches smaller. When you relax or get distracted, your grip loosens, making stitches larger.
- The “Tip vs. Shaft” Error: If you finish a stitch while the yarn is on the tapered tip of the hook, it will be smaller than a stitch finished on the thick shaft. Beginners often fluctuate between these two positions without realizing it.
- Yarn Drag: If your yarn ball is rolling around or snagging, it creates “drag” that changes how much yarn is available for the hook to grab, leading to uneven loops.
How to Fix Uneven Stitches
To achieve professional-looking, even stitches, focus on these corrective actions:
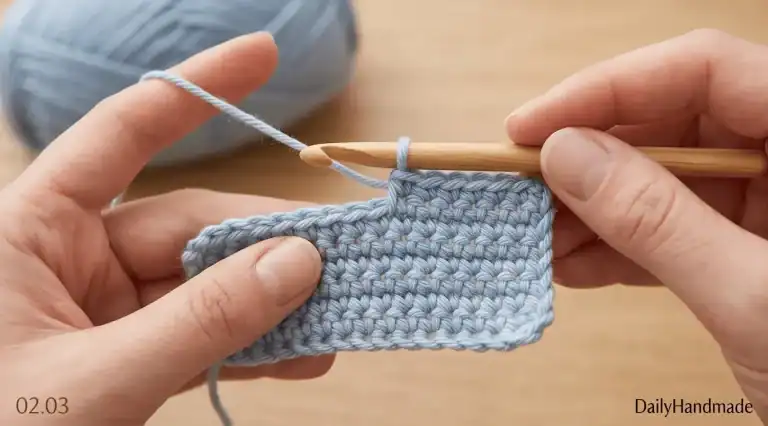
- Work on the Hook’s Shaft: Always ensure your loops sit on the thickest part of the hook before completing the stitch. This acts as a “spacer” to ensure every loop is exactly the same diameter.
- Establish a “Yarn Path”: Find a way to wrap the yarn around your fingers that provides a steady, slight resistance. Do not “choke” the yarn or let it fly loose.
- Check the “Golden Loop”: Pay attention to the first loop you pull up. Try to pull it to the same height every time.
- Create a Smooth Feed: Ensure your yarn is unwinding easily from the skein. If you have to “tug” for more yarn, your tension will immediately tighten.
What to Expect Next
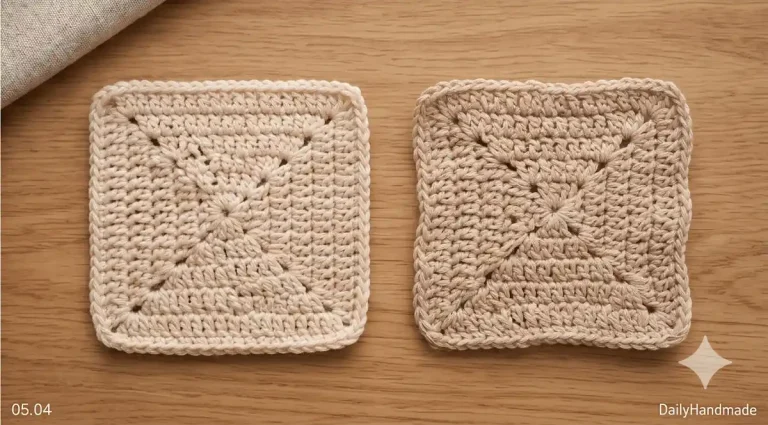
Stitch consistency is a “slow-burn” skill. You will notice your work improving when:
- The “holes” in your fabric appear uniform in size.
- The edges of your project stay straight rather than bowing in or out.
- You feel a steady, rhythmic “glide” as the hook moves.
This issue is closely tied to how you control the yarn and how your hands feel:
- If you feel your tension is changing every few seconds, see: Why my crochet tension keeps changing
- If your uncoordinated hand movements are making it hard to stay consistent, see: Why crochet feels awkward in the beginning
- If you feel your stitches are uneven because you are holding the hook incorrectly, see: How to hold crochet hook and yarn
Return Path
Uneven stitches are the most visible sign of the early learning curve. To understand why this happens and how your hands eventually find their rhythm, see our main conceptual guide: Why Crochet Feels Hard at First
This guide explains the entire beginner stage and provides the roadmap to moving from messy stitches to mastery.