How to Get Neat Crochet Stitches: 3 Pro Secrets for Success
Quick Recognition
You’ve fixed the splitting yarn, you’ve matched your hook size, and you’ve eliminated the random holes. Your work is “correct,” but it still lacks that intangible “wow” factor. It doesn’t look like the perfectly uniform, almost machine-made fabric you see in high-end crochet books. If your stitches are technically right but visually “flat” or uninspiring, you are missing the final layer of professional polish. Learning how to get neat crochet stitches is about mastering the microscopic habits that ensure every loop is a carbon copy of the last.
Direct Answer
To get neat crochet stitches, you must master Anatomical Consistency. This means every loop of every stitch must be formed at the same tension and height, and the “feet” of the stitches must sit in the exact same position relative to the row below. In Crochet Stitches Explained, we learn that the difference between “neat” and “messy” is often just 0.5mm of extra slack. By standardizing your hook movement and using the “Three Pro Secrets”—The Golden Loop, The Stacked Start, and The Steam Finish—you can achieve a high-definition, professional aesthetic.
3 Pro Secrets for Success
Secret #1: The “Golden Loop” Standardization
The most critical part of how to get neat crochet stitches happens the second you pull yarn through your work.
- The Pro Move: After pulling up your first loop, lift the hook slightly so the loop is perpendicular to the fabric.
- The Result: This ensures the “post” of your stitch is the correct height. If you pull the loop sideways or keep it too low, your stitch will look “crunched.” Standardizing this lift across every stitch creates a rhythmic, even surface.
Secret #2: The “Inline” Insertion (The 0.5mm Difference)
Where you put your hook is as important as how you hold it.
- The Pro Move: Instead of just shoving the hook under the “V” of the previous row, aim for the exact center of the stitch. Ensure your hook enters at a 90-degree angle to the fabric.
- The Result: If you insert the hook at an angle, you slightly stretch the left side of the stitch more than the right. Across 100 stitches, this creates a “biased lean” that makes the rows look slightly crooked or messy. Inline insertion keeps the “V” shapes perfectly upright.
Secret #3: The “Yarn-Over” Rhythm
In Why Crochet Looks Messy (Common Causes & Fixes), we find that many “messy” projects are caused by inconsistent yarn-over tension.
- The Pro Move: Always wrap the yarn over the hook at the same distance from the hook’s head. Many beginners wrap close to the throat for some stitches and further down the shaft for others.
- The Result: Wrapping on the shaft ensures every yarn-over has the same circumference. This makes the “top bar” of your stitches look identical, creating a smooth, “braided” look across the top of your row.
The Final Audit: From “Okay” to “Masterpiece”
To truly master how to get neat crochet stitches, you must perform a post-project audit:
- The Light Test: Hold your work up to a window. The gaps between stitches should be identical in size and shape. If you see “irregular stars” of light, go back to Micro_04: Irregular Tension.
- The “S” Curve Audit: Look at the side of your project. The edges should look like a smooth “S” curve where the rows turn, not a jagged staircase.
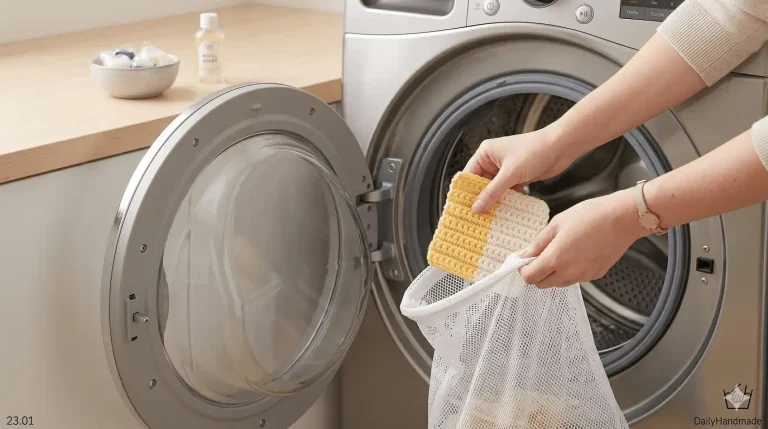
- Steam Blocking (The Secret Weapon): Even the neatest stitches benefit from blocking. A light steam allows the fibers to “settle” into their geometric home, smoothing out any remaining micro-wobbles.(See: Can Blocking Crochet Fix Its Shape? (The Final Touch) for blocking techniques).
Return Path
Mastering how to get neat crochet stitches is the final stage of Why Crochet Looks Messy. You have now moved from diagnosing errors to perfecting the art. To see how these neat stitches form the foundation for more advanced shapes and structures, return to the master guide for Crochet Stitches Explained: