How to Fix Tight Crochet Tension (The Strangler’s Cure)
Quick Recognition
You are fighting your yarn. Every time you try to insert your hook into a stitch from the previous row, it feels like you’re trying to push a needle through concrete. Your hands ache after just ten minutes, your fabric is as stiff as a piece of cardboard, and your finished project is three sizes smaller than the pattern says it should be. If you have to use force to get your hook through a loop, you are “strangling” your stitches. Knowing how to fix tight crochet tension isn’t just about making your work look better—it’s about saving your wrists from injury.
Direct Answer
To fix tight crochet tension, you must shift the mechanical burden from your fingers to the hook’s shaft. The most effective method is the “Golden Loop” Adjustment: after yarning over and pulling up a loop, consciously lift your hook slightly to ensure the loop matches the diameter of the hook’s widest part. By relaxing your non-dominant hand’s “brake” and allowing the yarn to flow freely, you create the “breathing room” necessary for the stitch structures we study in Crochet Learning Stages Explained.
Why This Happens (The Structural Logic)
In Pillar #03: Crochet Stitches Explained, we define a stitch as a 3D architecture of yarn. When you pull too tightly, you collapse that architecture. Tight tension usually stems from a subconscious fear of the yarn slipping. Your brain tells your fingers to squeeze, which creates high friction. This friction prevents the yarn from sliding around the hook’s barrel, meaning your loops are formed on the thin “throat” of the hook rather than the full-sized “shaft.” The result? Stitches that are physically too small for the hook to re-enter.
How to Fix It (The Loosening Protocol)
If you are a “Strangler,” follow these four expert-level recalibrations to find your flow in How to Control Crochet Tension.
- The “Up-Size” Cheat (Expert Signal): If you naturally crochet tight, simply increase your hook size by 0.5mm or 1.0mm. If a pattern calls for a 5mm hook, use a 6mm. This mathematically compensates for your tight grip without forcing you to change your natural rhythm.
- The Golden Loop Lift: Every time you pull a loop through, stop for a millisecond. Lift the hook so the loop sits on the thickest part of the hook’s shaft. Never form a stitch while the yarn is squeezed into the narrow neck of the hook.
- Relax the “Index Tower”: Many tight crocheters hold their index finger high and rigid. Drop your finger. The lower the finger, the less tension is applied to the yarn.
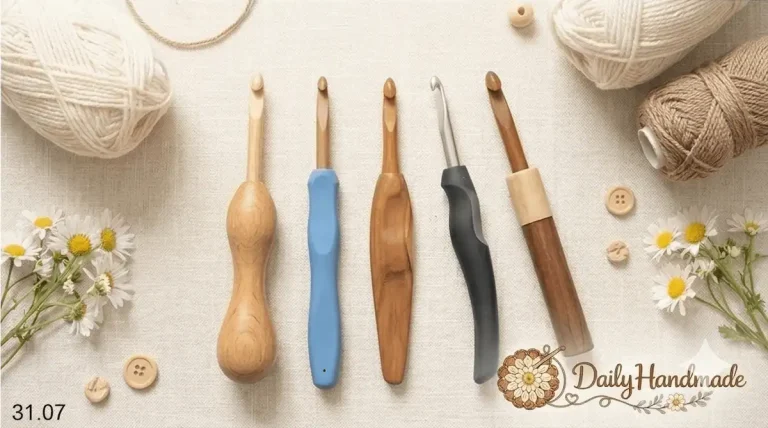
- Use “Slippery” Tools: Switch from wooden or plastic hooks to high-quality inline aluminum or ergonomic hooks. Smooth metal offers less resistance, allowing the yarn to glide rather than stick, which naturally encourages a looser grip.
- Check Your Fiber: If you are struggling with cotton (which has zero stretch), switch to a wool or premium acrylic blend. These fibers have “give,” making it much easier to maintain even tension. See: Best yarn for even crochet tension
What To Expect Next
When you first apply these fixes, your work might look “messy” or “loopy” to your eyes. This is a common illusion for tight crocheters. You are finally seeing what correct tension looks like. Your fabric will have “drape”—it will move and fold naturally instead of standing up on its own. You will know you’ve successfully learned how to fix tight crochet tension when you can slide your hook into the next stitch with zero resistance.
Return Path
Fixing tight tension is the most common hurdle in How to Control Crochet Tension. Once your stitches have room to breathe, you can begin to explore more complex textures. Return to our master guide to see how tension influences different styles: How to Control Crochet Tension
If your tension is now loose enough but still inconsistent, explore these targeted guides: