Accidentally Adding Stitches in Crochet: Why Your Work is Growing
Quick Recognition
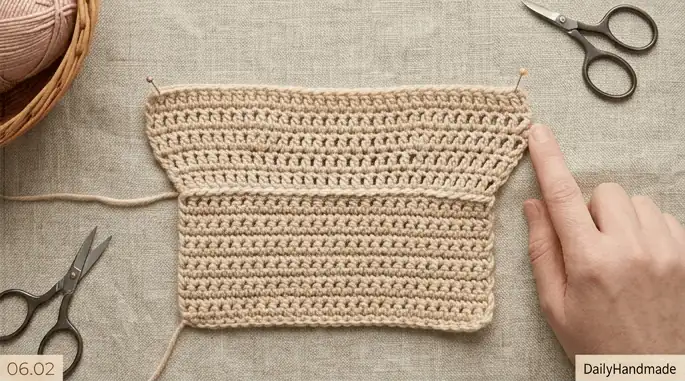
You started your project with a perfect foundation, but ten rows later, the piece looks like it’s trying to expand into a blanket. It’s wider at the top than the bottom, and the edges look “bubbly” or thick. You haven’t intentionally worked any increases, yet the math simply doesn’t add up anymore. If your project is growing without your permission, you are likely accidentally adding stitches in crochet through a common mechanical error known as “Double-Stitching.”
Direct Answer
Accidentally adding stitches in crochet most often happens when you work two stitches into the same hole where only one should be. This usually occurs at the very beginning of a row (near the turning chain) or because you are struggling to see the “V” shapes clearly, leading you to insert your hook twice into a single stitch. In crochet terms, you are performing an “unintentional increase,” which adds width and distorts the fabric’s geometry.
Why This Happens (The “Double-Dip” Logic)
Every crochet stitch requires a dedicated “home”—a single “V” shape from the row below. Beginners often fall into the trap of double-stitching because of a lack of Visual Literacy. When a stitch is slightly loose or the yarn is dark, it can be hard to tell if a hole has already been “occupied.” If you aren’t looking at the top of your work, you might see a gap and think, “That looks empty,” when in reality, the post of a stitch is already anchored there.
How to Fix It (The Space-Audit Protocol)
To stop the accidental growth and keep your stitch count stable, implement these expert-level checks:
- Spot the “Y” Shape (Expert Signal): Look at your current row. If you see two vertical “posts” coming out of a single hole from the row below, you have accidentally added a stitch. This “Y” shape is the tell-tale sign of a double-stitch.
- The Turning Chain Reset: Be consistent with your first stitch.
- If your chain does not count as a stitch (common in sc), put one stitch in the first hole.If your chain does count as a stitch (common in dc), skip that first hole entirely.
- The “One-to-One” Rule: Before moving your hook to the next stitch, pull the yarn slightly and look at the base. Only one “leg” of yarn should be entering each hole.
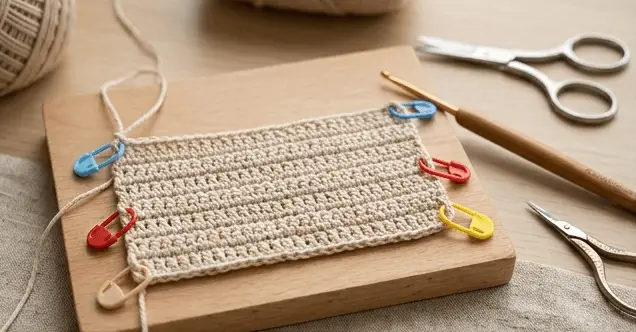
- Use a “Start-Line” Marker: Place a stitch marker in the very first stitch of every row. This prevents you from “doubling up” at the most confusing part of the row—the turn. See: Using markers for straight edges
- Count After Every 5 Stitches: Don’t wait until the end of a 50-stitch row to find an error. Audit your count in small segments to catch extra stitches immediately.
What To Expect Next
Once you master the “One-to-One” rule, the accidental expansion will stop. Your edges will begin to move vertically rather than diagonally. You will know you’ve fixed the issue when your row-end count matches your foundation count three times in a row. It may feel slow to audit every stitch at first, but it saves you hours of “frogging” (ripping out) work later.
Return Path
Learning to stop accidentally adding stitches in crochet is a major part of Stage 2 development. To see how this fits into your overall learning timeline, return to the master guide: Crochet learning stages explained
If your project is widening specifically due to turning chain confusion or one-sided flaring, explore these related diagnostics: