Using Stitch Markers for Straight Edges: The Beginner’s Cheat Code
Quick Recognition
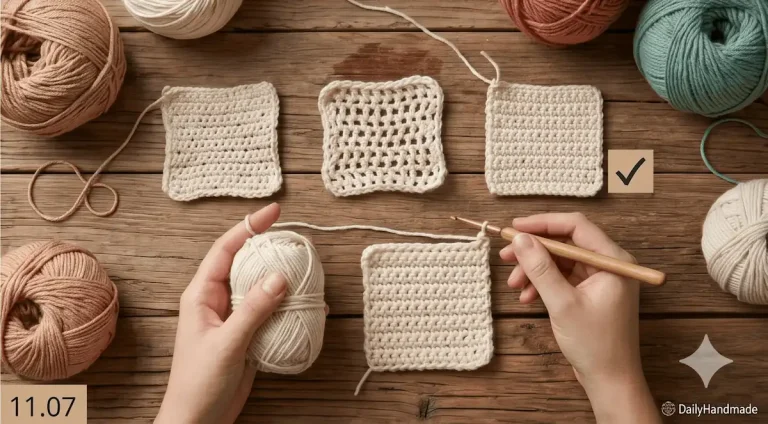
You’ve reached the end of your row, and you find yourself staring at the last few loops, asking: “Is this the last stitch, or is that just the turning chain?” If you are guessing where to insert your hook, you are likely suffering from Edge Blindness. This is the primary reason beginners end up with slanted work. Even experienced crocheters struggle to see the “hidden V” on a dark or fuzzy yarn. If you want to stop the frustration of “frogging” (ripping out) your work because the sides are wobbly, it’s time to stop guessing.
Direct Answer
Using stitch markers for straight edges is the most reliable way to maintain a consistent stitch count and perfectly vertical sides. By placing a physical plastic marker into the first stitch of every row the moment you create it, you create a “safety anchor.” When you return to that side on the next row, you don’t need to identify the stitch—you simply look for the marker. This eliminates the mechanical error of skipping the last stitch or adding an extra one into the turning chain.
Why This Happens (The Operational Logic)
Crochet fabric is 3D and asymmetrical. The “anatomy” of the first and last stitch changes every time you turn your work. Beginners often lack the Visual Literacy to distinguish between a turning chain and a real stitch. Using stitch markers for straight edges bypasses the need for visual recognition by providing a tactile and high-visibility landmark. It essentially “locks” the boundaries of your project, so your brain can focus on stitch rhythm rather than edge-case logic.
How to Fix It (The Anchor-and-Catch Protocol)
To ensure your edges remain laser-straight from start to finish, implement this professional marker system:
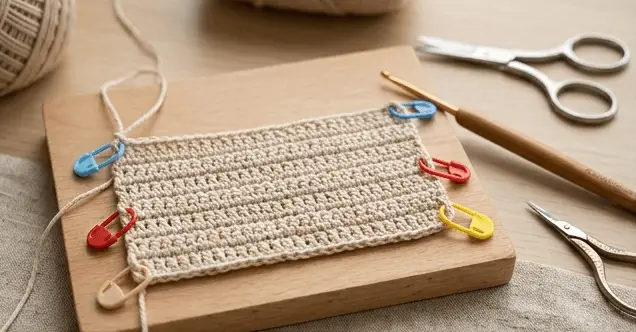
- Mark the “Birth” of the Row (Expert Signal): As soon as you complete the very first stitch of a new row, stop. Before making the second stitch, clip a locking stitch marker into the “V” (both loops) of that first stitch.
- The Return-Leg Marker: Do the exact same thing when you reach the final stitch of that row. You now have two anchors—one at each end.
- The “Finish Line” Rule: On your next row, crochet until you reach the marker. The stitch with the marker is always your last stitch. Insert your hook, remove the marker, complete the stitch, and then turn.
- Pair with the “Count-Audit”: Even with markers, do a quick count every 5 rows. If your markers are placed correctly, your count will be perfect 100% of the time. (See: Counting Stitches in Crochet: The Secret to Straight Edges for counting techniques).
- Use High-Contrast Markers: Use bright pink, orange, or green markers that stand out against your yarn color. This reduces eye strain and prevents you from accidentally crocheting over the marker itself. (Tool guide: Is it normal to frog a lot when learning crochet).
What To Expect Next
When you start using stitch markers for straight edges, your speed might decrease slightly at first because you are pausing to move the clips. However, your “rework time” will drop to zero. You will know you have mastered the system when you can lay your project on a flat surface and the sides are perfectly parallel, with no “staircase” effect. This builds the confidence needed to move from simple rectangles to complex shaped garments.
Return Path
Stitch markers are the ultimate “cheat code” for Stage 2 learners. To see how identifying your stitches manually can eventually replace the need for markers, return to our recognition guide: How to identify the first and last stitch
If your edges are straight but your project is still curling or looking messy, explore these diagnostic fixes:
Why my crochet edges are uneven